


Below are the tools and materials you’ll need to complete this project.
Safety equipment (safety glasses, protective gear, work boots)
Measuring tape
Auger
Geofabric
Concrete
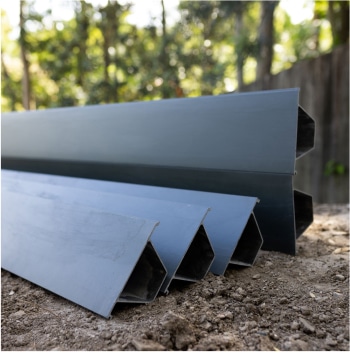
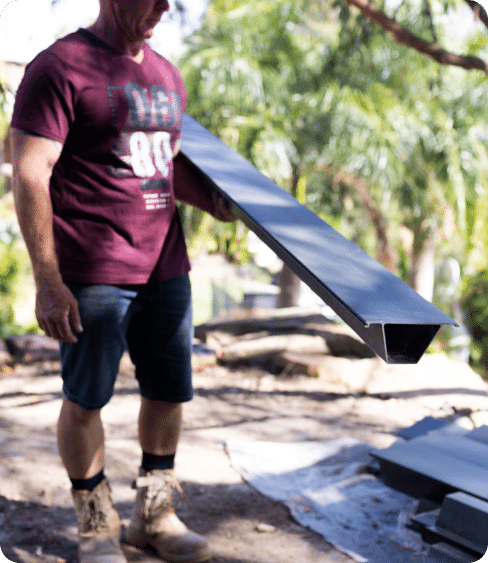
Sleepers + posts
Lighting (optional)

Before you start, plan out the location, length and height of your retaining wall. Plan where the foundation/Joiner holes will be and how deep they will need to be, depending on the size of your wall and location of your wall. Ensure you leave space at the back for drainage.

Clear all topsoil and ensure the proposed landscape is clear and level prior to installation of the retaining wall.

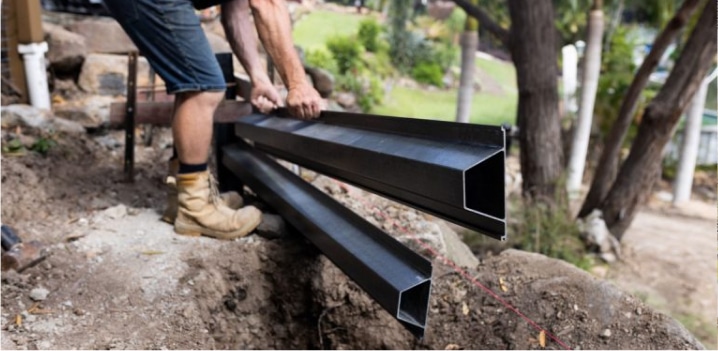
Mark and dig the holes as planned in step 2. You can use methods including excavation and augers if available. Place posts in the foundations holes ready for placement of concrete. Ensure the posts are level.

Place the bottom sleeper on to the correct level. Make and pour concrete into foundation/joiner holes, ensuring concrete covers the entirety of the post including the bottom of the sleeper. Leave concrete to cure.

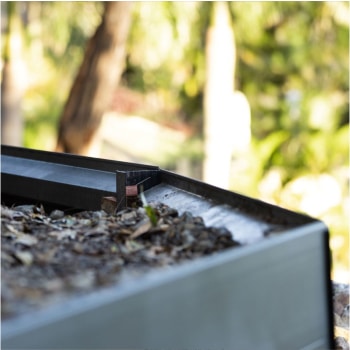
Slot in the Super Sleepers. Ensure you have accurate drainage. Options for this include insertion of an agricultural pipe to the correct gradients.

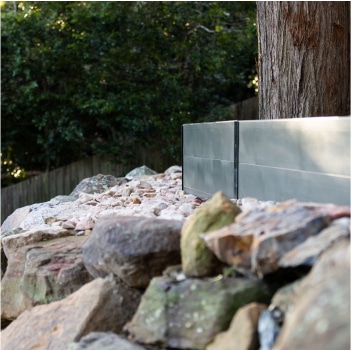
Enjoy your Super Sleeper wall and personalise it to make it your own. Our suggestion to bring some light to your life is to install recessed lights into the sleeper and run a cable along the sleeper.